
10 tips for navigating Pinterest wedding inspiration
/
Photo By; A Day to Adore Photography

Photo By; A DAy to ADore Photography

Photo By; A Day to Adore Photography

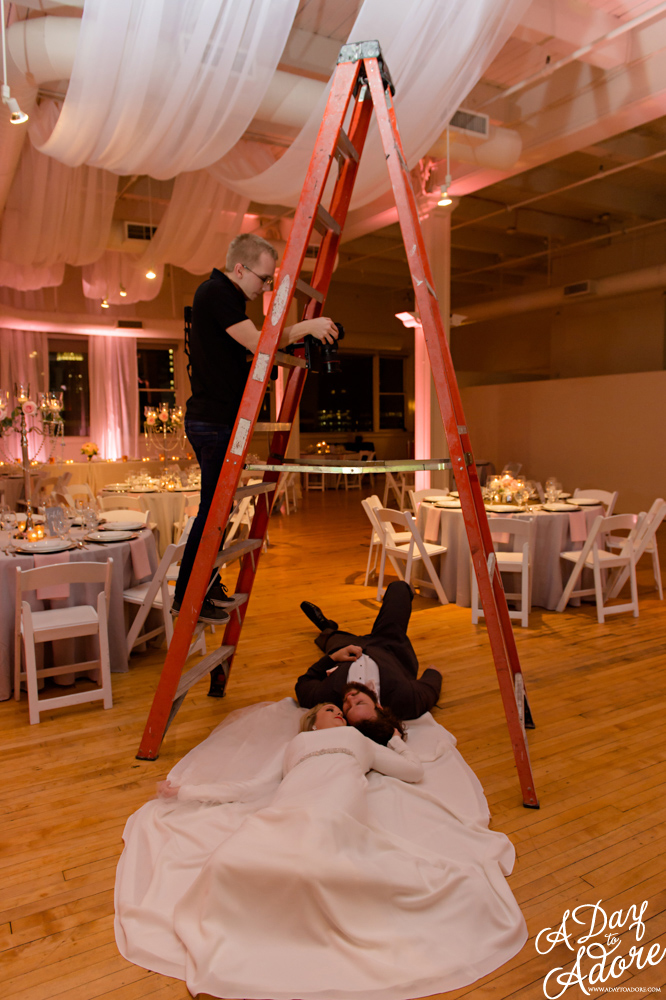
Photo By; A Day to Adore Photography

Photo By; A Day to Adore Photography

Photo By; A Day to Adore Photography

Photo By; A Day to Adore Photography

Photo By; A Day to Adore Photography

Photo By; A Day to Adore Photography

Photo By; A Day to Adore Photography

Photo By; A Day to Adore Photography

Photo By; A Day to Adore Photography
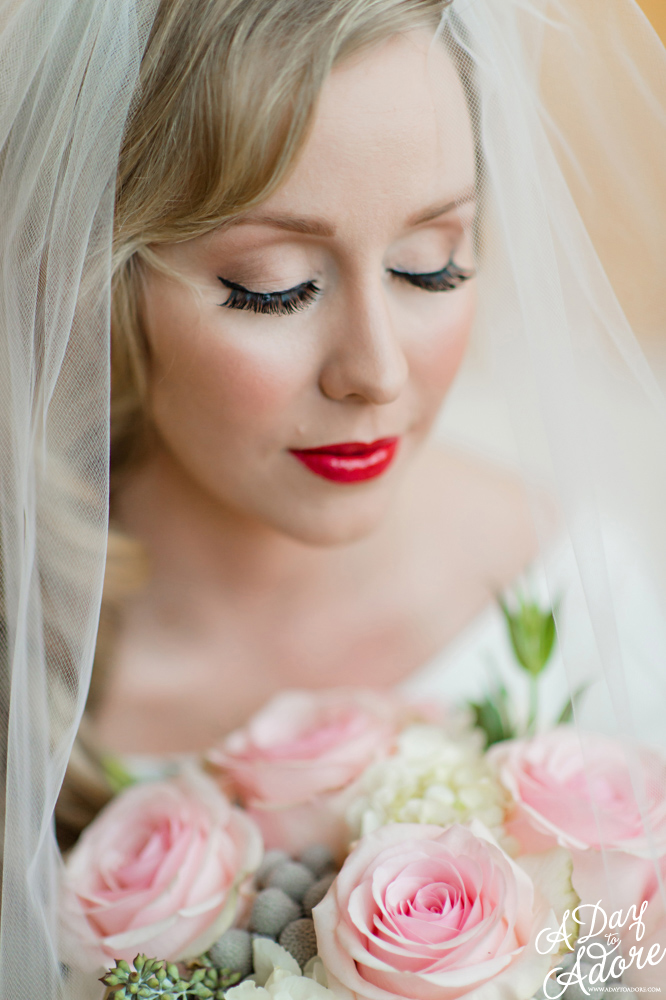
Photo By; A Day to Adore Photography
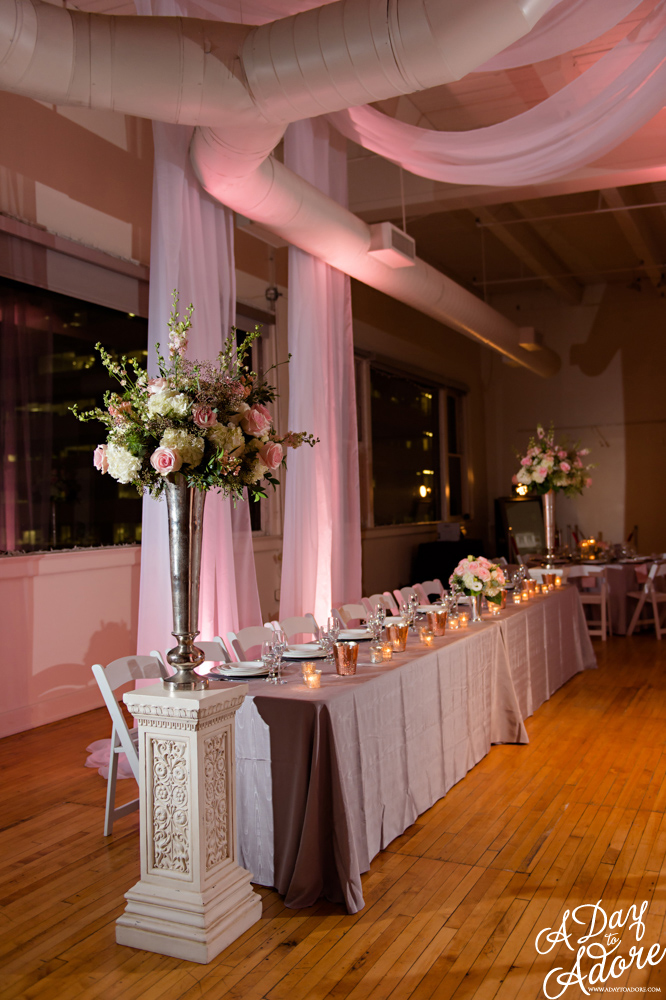
Photo By; A Day to Adore Photography
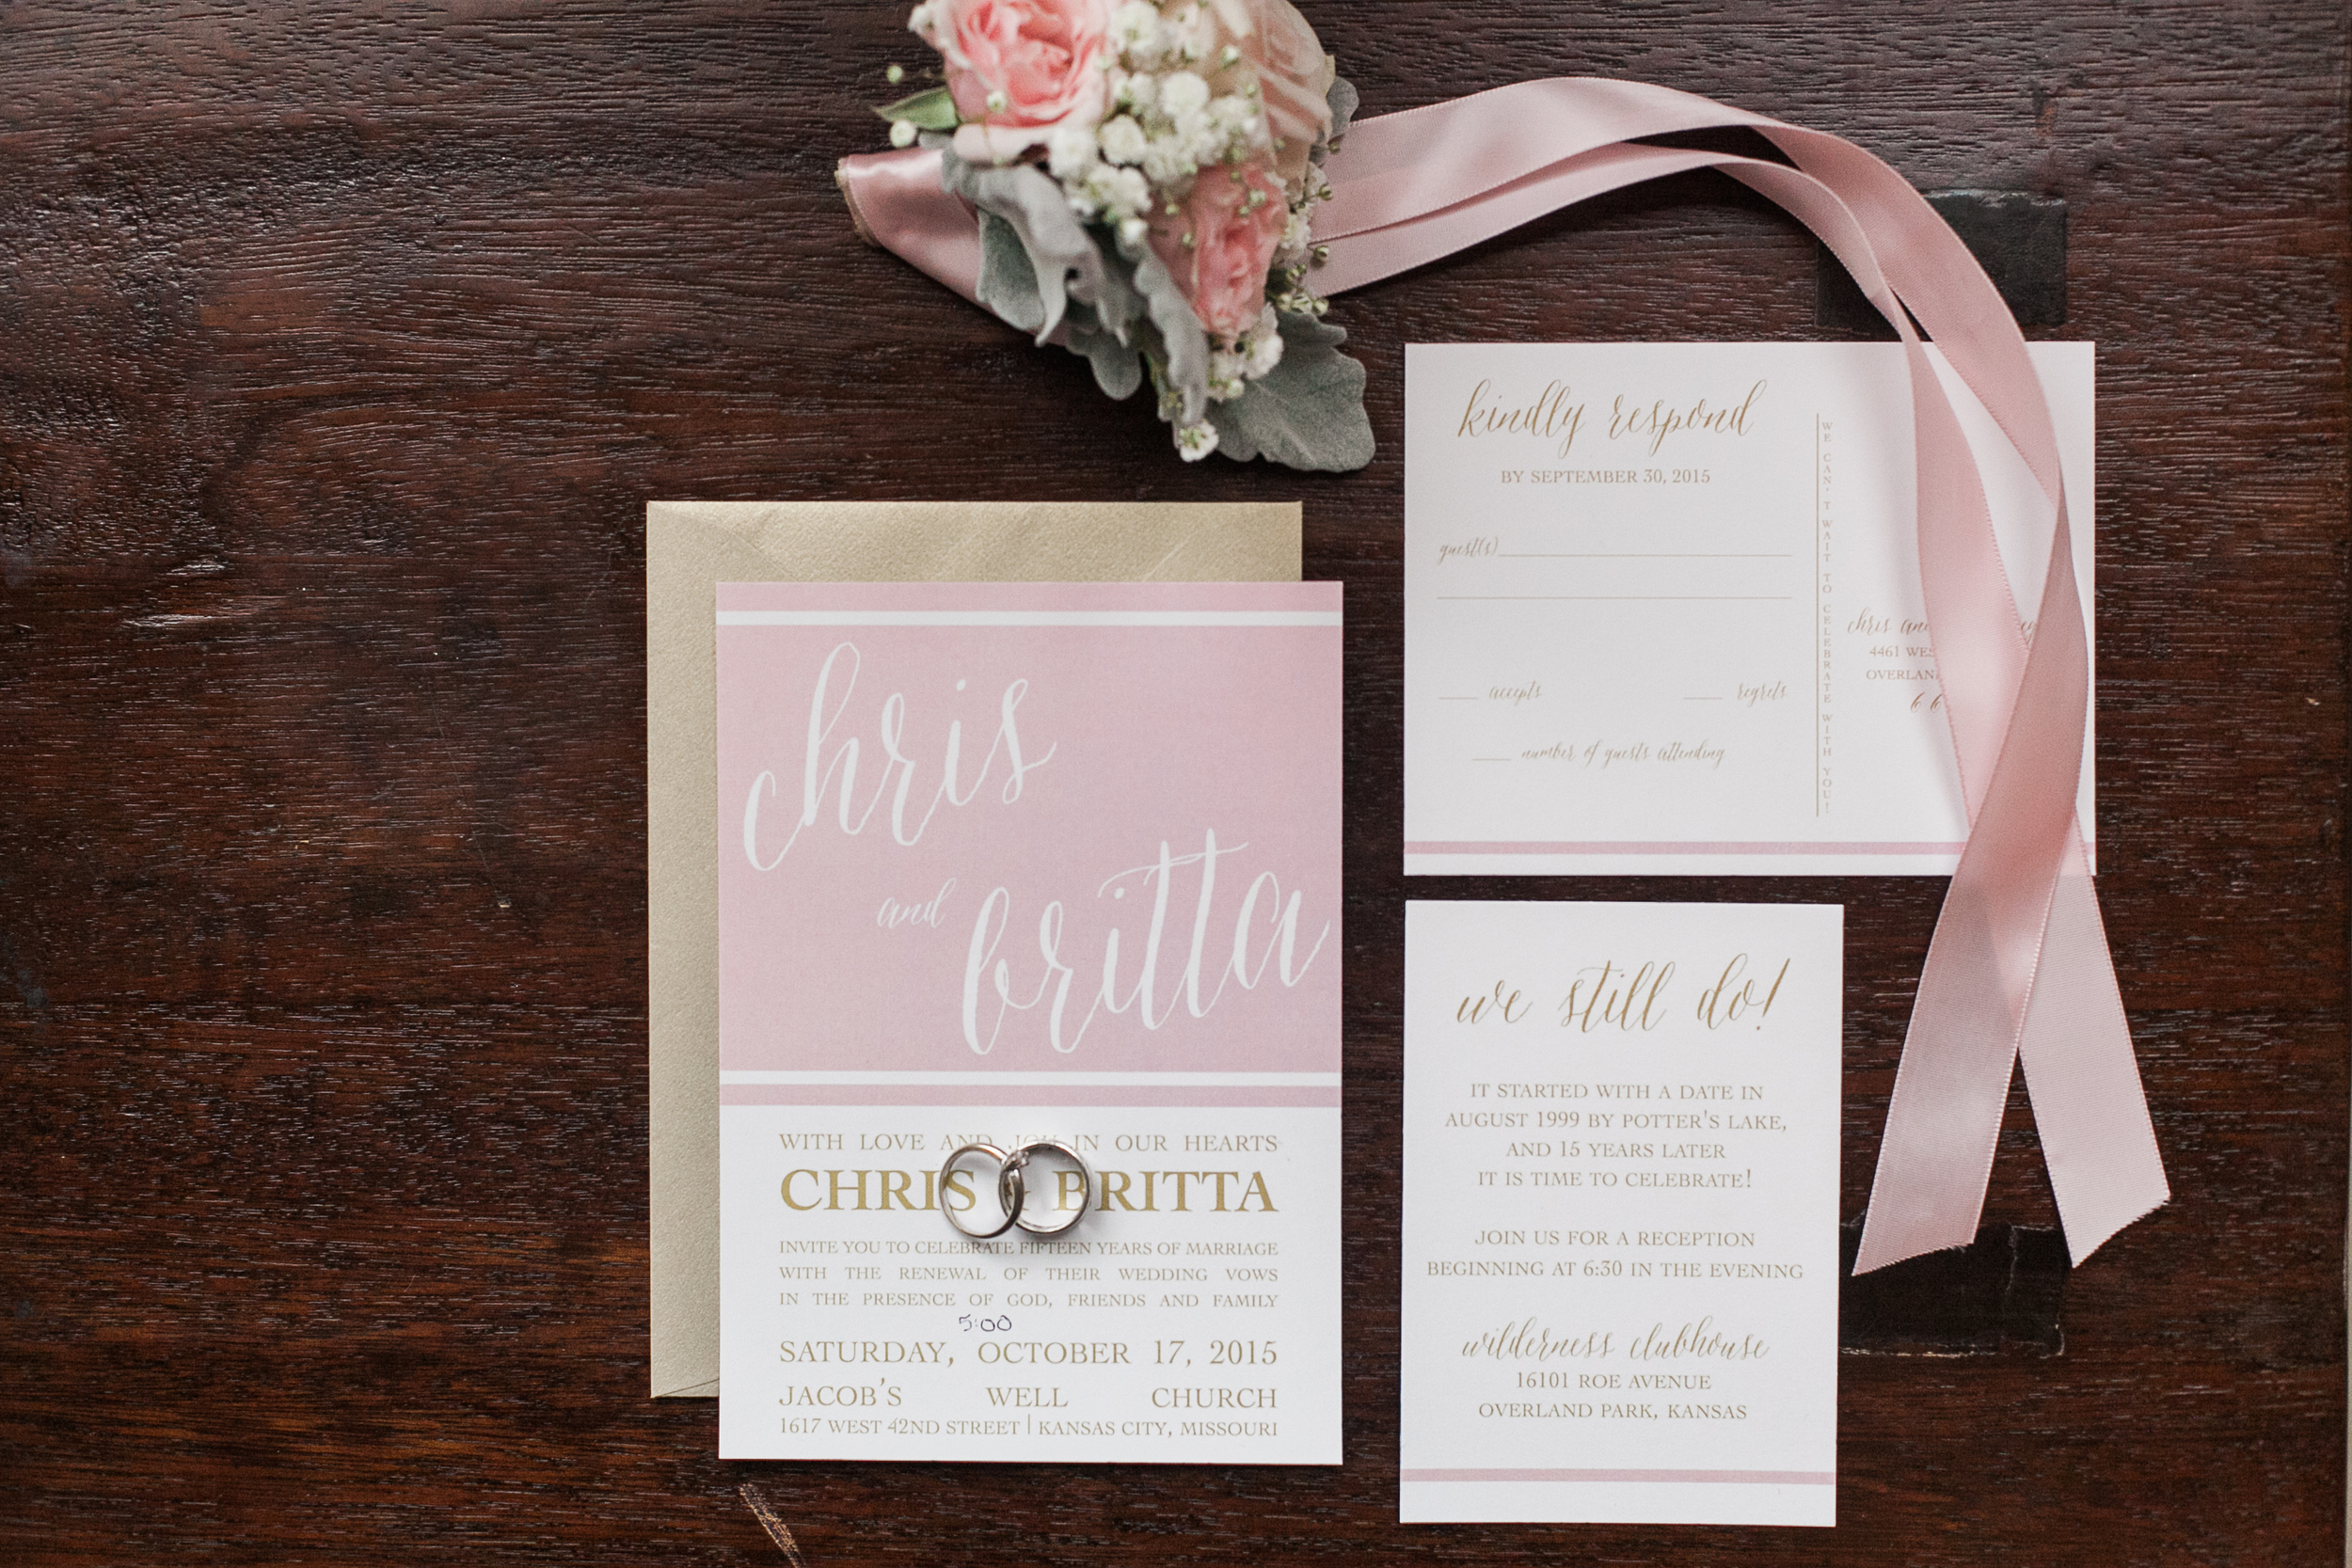
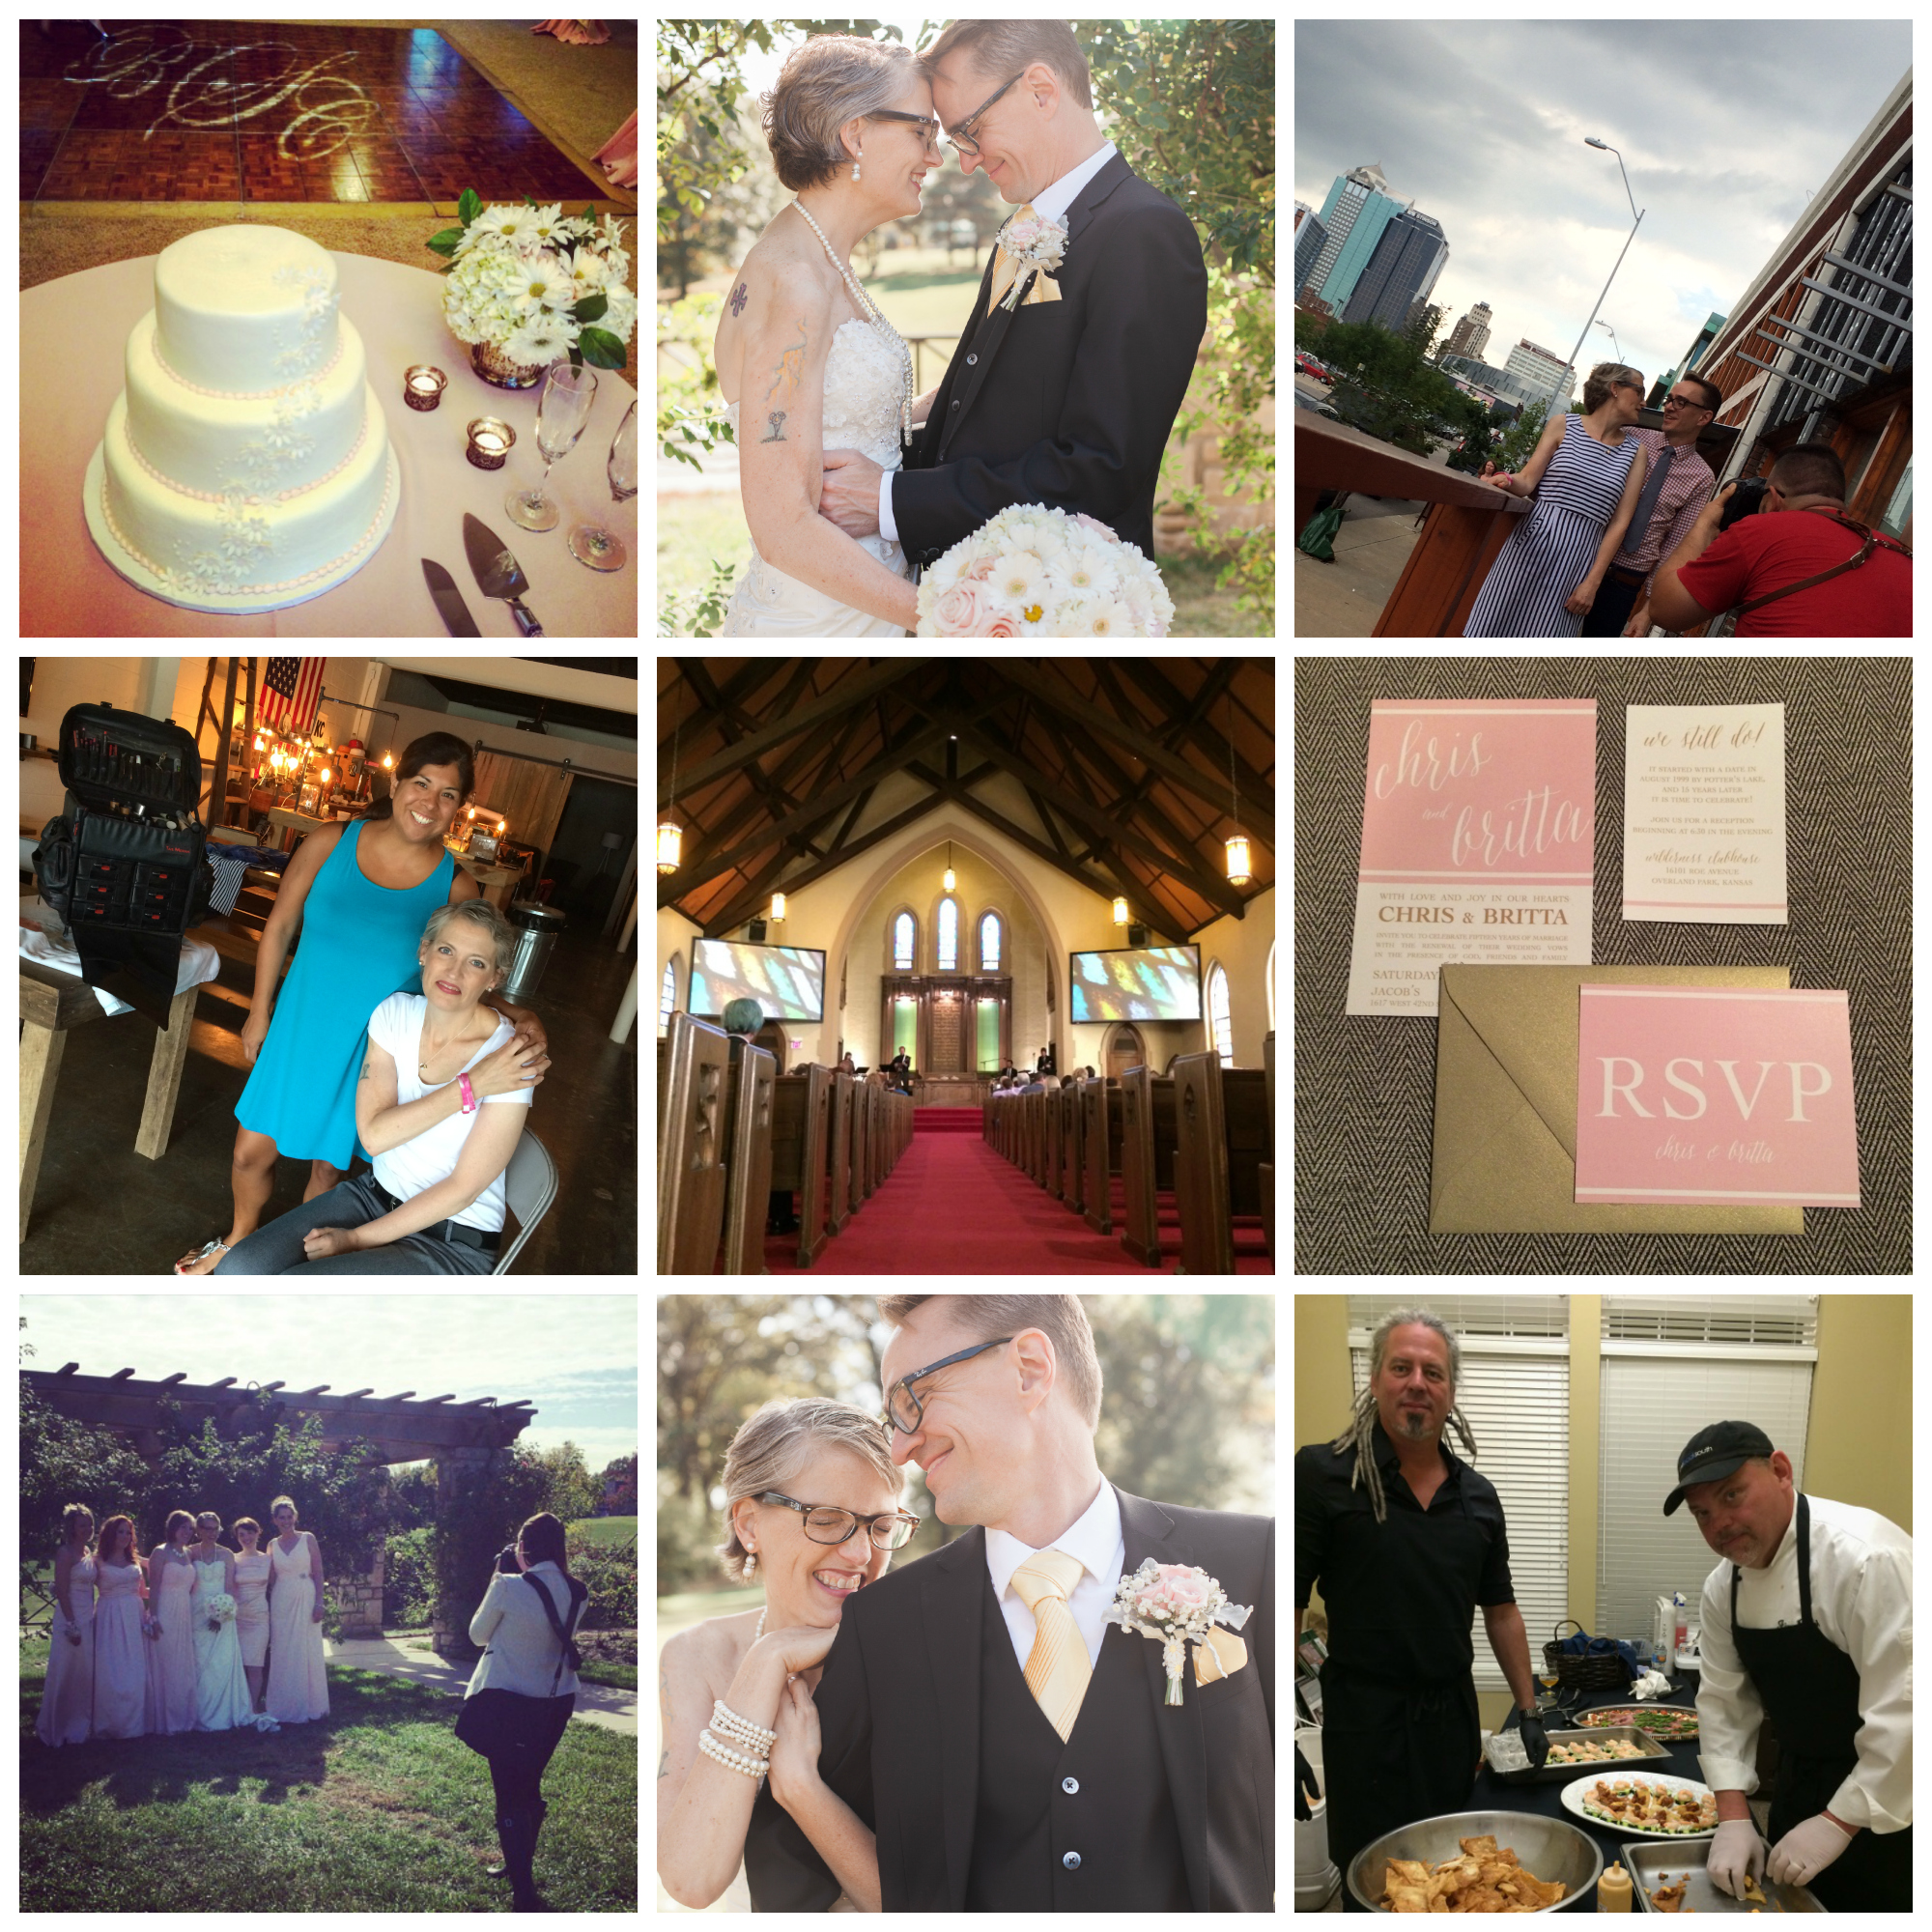
I was recently reflecting on this amazing blush and silver inspirational wedding shoot I worked on this winter. We were so, so lucky to feature a couple that had just recently gotten married, and they were so excited about the looks we had put together for them!
But while we were working on the styled shoot, it hit me square in the face that so many of my clients see these inspiration shoots and think of them as real weddings! EEK!!!!
Styled shoots are beautiful, but they can make it really difficult for brides who are taking inspiration from Pinterest these days. As part of our process, Celebrations of Love’s clients walk through the details of their wedding and I will then find ideas that are realistic within their budget and keep potential vendors in mind. But for a bride that does not have a planner to walk through this process with her, I wanted to share some tips on how to navigate Pinterest.
Do not get me wrong here—Pinterest is a GREAT tool for inspiration after a budget has been established and discussed.
While scrolling through Pinterest, here are a few important things to think about:
1. Be realistic. How many people have you invited? Do you want to set up 250 mini succulent plants with flags in them for an escort table? Do you want to make all of those flags with the corresponding table number and guest name? Maybe you can have a generic one at each place setting. But then what type of container are you going to put it in? If the container has a hole in the bottom, do you want dirt to end up on your table linens? Also, calligraphy on leaves!!! It looks amazing but would be really great on just the head table or parents’ tables instead of at every single guest’s place setting.
2. Think about your location. What climate are these Pins taking place in? If you are getting married in the mountains, there is a higher chance of those unpredictable mountain showers than if you are in the deserts of Arizona. You may see this incredible, elegant outdoor setting with no rain back-up plan in sight, but just keep in mind that it could be in a completely different climate than the one you are in. You have to adapt those pictures to what makes sense for your environment.
3. Know when to stop shopping. Unpin all wedding dresses after you find your wedding dress! ALL wedding dresses!!! I don’t care if it is YOUR dress on a different person. UNPIN it. It will help you from second-guessing yourself.
4. Time it right. You know those cute photos of a bride hanging out with her girls after they’re ALL finished with hair and makeup? Remember that your hair and make-up artists have asked for the time when you all need to be completely ready and they are working off that time. If you want special time for photos, tell your hair and make-up artists and build in an extra 30 minutes to have fun!!!
5. Play the name game. ESCORT BOARDS!!! They should ALWAYS be in alphabetical order, NOT table number order, unless you have less than 60 people. It is so much easier for people to find their names when they’re in ABC order, instead of having to scan through all of the names at different tables. Yes, it is nice for your guests to see who they are sitting with, but they will find out soon enough!
6. Check with your venue. Your selected venue might have restrictions regarding the bar, food, design aspects, etc. Don’t let yourself head down a Pinterest trail and then find out your venue has regulations or rules against your special idea or that they cannot accommodate it! For example, some venues may allow couples to get into the venue three days prior to the wedding day, while others only allow 24 hours—and that makes a huge difference as to how much DIY set-up a couple can do.
7. Balance DIY vs. professional. Some of the DIY ideas you see on Pinterest are actually done by professionals. It is their job to make glitter-dipped feathers, hanging floral monograms, a tiered pie wedding cake or those oh-so-darling table number signs. Take time to watch tutorials and investigate the process before jumping into too many DIY projects. And I always like to have DIY projects wrapped up about one month before your big day!
8. Trust your vendors. Most of the pictures on Pinterest are taken by PROFESSIONAL photographers. If you absolutely LOVE four or five inspirational pictures, then definitely send them over to your photographer. Share them as soon as possible so that they can start scouting out areas if needed. But do not restrain their creativity with a Pinterest board full of dozens of must-have pictures!
9. Consider the behind-the-scenes details. An example: Pizza is an awesome late night snack, but you have to plan a very deliberate delivery schedule for the pizza company so that your servers can get the pizzas out to guests continuously and without delays.
10. Things aren’t always as they appear. Hay bales used as seating for a ceremony are not that comfortable. If you are going to use them, add some padding on top—your guests will thank you! And tree stumps are super heavy. Consider all the logistics of transportation, set-up, and break-down.
I hope these tips help you navigate Pinterest a little better. If you have questions, reach out to the vendors who are tagged in Pins and see if they’d be willing to tell you about their set-up or design. The biggest take-away is to be realistic. Think about the actual execution, cost, and effort—and then decide what’s most important to you!
Venue: The Garment House on Broadway
Photography and Stationary Design: A Day to Adore Photography
Floral and Design: Shana Vaughn Designs
Lighting Photobooth and Sound: Fernando Productions
Hair and Make-up: Hello Lovely
Gowns and Jewelry: Altar Bridal
Tuxedos: Tip Top Tux
Videography: Shawn Gormely Films
Models: Amanda and Jake Weishaar
Cakes: Adorn Cakes
Rentals and Ceiling Install: Ultrapom

Photo By; A Day to Adore Photography